Stable Diffusion WebUIにControlNetをインストールする方法とControlNetの機能を紹介します。
ControlNetとは
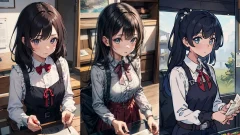
ControlNetを使用すると呪文だけでの誘導が難しかった構図をうまくコントロールすることができるようになります。そのほかにも面白い機能がいくつもあります。
ControlNetインストール方法
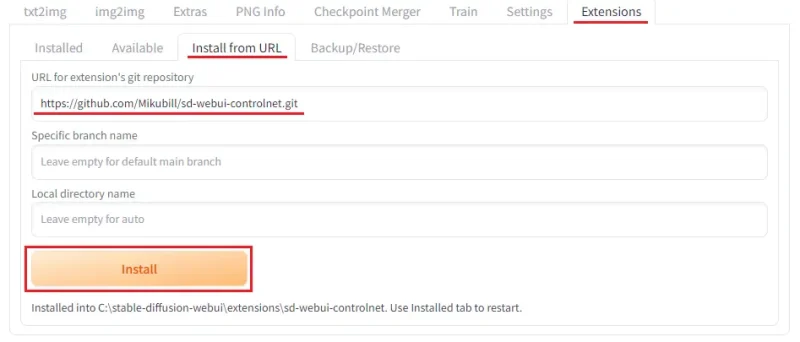
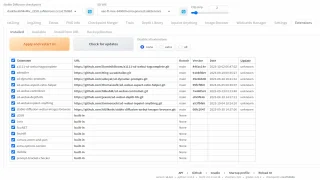
- Extensionsタブを開く
- Install from URLタブを開く
- URL for extension’s git repositoryにhttps://github.com/Mikubill/sd-webui-controlnet.gitと入力してInstall

- Installedタブを開きます。拡張機能の一覧が表示され、先ほどインストールしたcontrolnetも確認できます。
- Check for updatesをクリック(アップデートを確認します)
- Apply and restart UIをクリック(適用と再起動をおこないます)
- ターミナルも再起動すると確実
モデルのダウンロード
ControlNetには、複数の機能があります。利用するにはそれぞれのモデルをダウンロードする必要があります。以下のリンクからpth, safetensorsという拡張子のファイルをダウンロードしてください。また、SDXLベースのチェックポイントは、SDXL用のControlNetモデルが必要であり今はまだ数も多くありません。
これらすべてのモデルをダウンロードするとすごい容量になります。ストレージの空きに余裕がない場合は、これから紹介する機能一覧で使用したいモデルのみで大丈夫です。SDXLのControlnetモデルは、機能的には同じだが別々の方が開発したモデルが複数あります。
ダウンロードしたモデルはこちらの階層に保存してください。
📁webui\extensions\sd-webui-controlnet\models
ControlNet設定
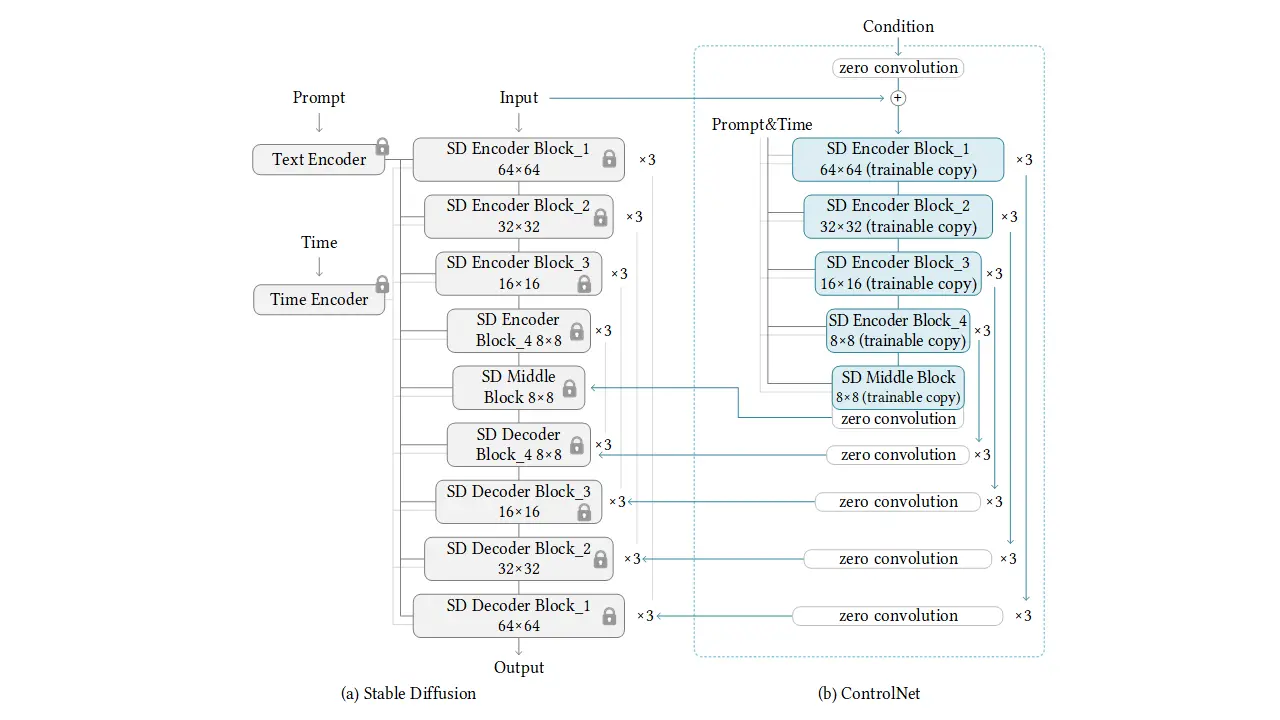
基本的な使い方は、画像のアップロードと使用したい機能のPreprocessorとModelを選択するのみ(先にControl Typeから選択すると楽)
入力画像をPreprocessorで処理して出来たマップデータを元に画像を生成します。作成しておいたマップデータを入力する場合はPreprocessorをnoneにしてください。
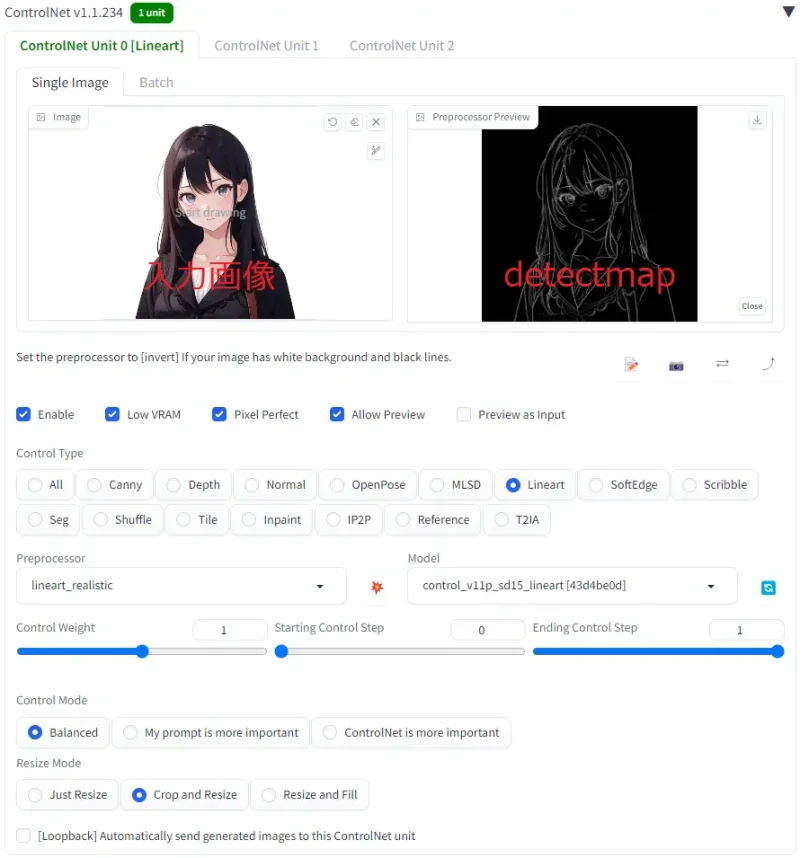
- Enable(有効化)
- Low VRAM(8GB以下のグラフィックボードはチェック推奨)
- Pixel Perfect(Preprocessor Resolutionを自動で設定する。これは入力画像と出力画像の解像度が違う場合にPreprocessor前に解像度を合わせてくれます。マップデータを引き延ばさなくていいため細部の詳細が失われることを防ぎます。わからないときはチェックを入れておき生成に問題が起きた場合に確認してください。)
- Allow Preview(Preprocessor Previewを許可する。💥衝突のアイコンをクリックすればマップデータを確認できる)
- Control Weight(ControlNetの影響を調整する)
- Control Mode(プロンプトとControlNetのどちらが重要であるかを制御する)
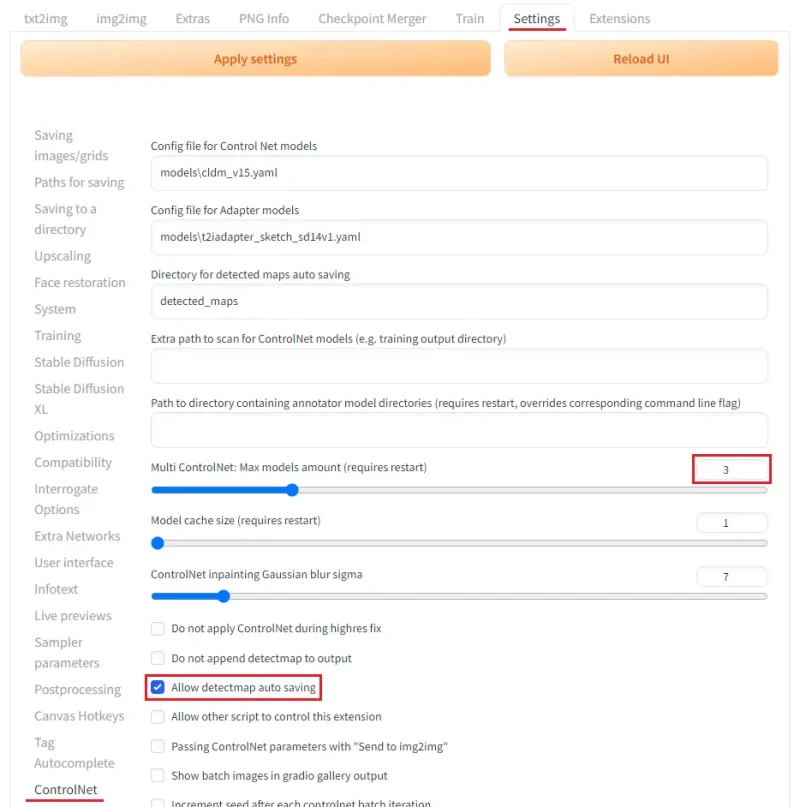
ControlNet Settingsの項目
- Multi ControlNet(同時に複数の機能を使いたい場合のユニット数)
- Allow detectmap auto saving(マップデータを自動保存する)
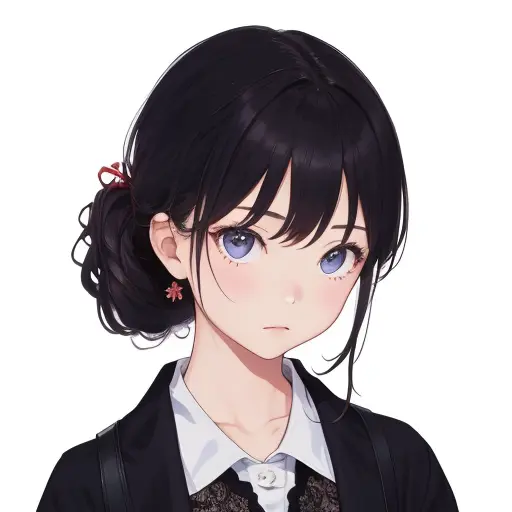
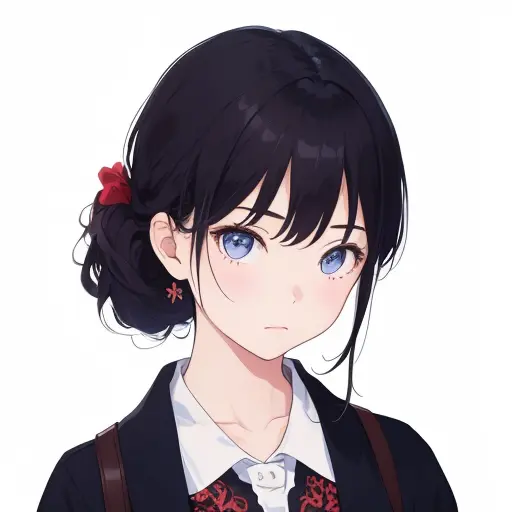
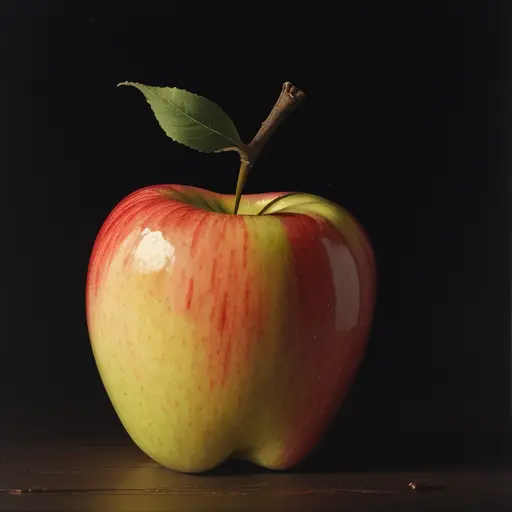
Canny
画像から輪郭を抽出します。
- canny
- invert (from white bg & black line)
- control_v11p_sd15_canny
- diffusers_xl_canny_full
- diffusers_xl_canny_mid
- diffusers_xl_canny_small
- kohya_controllllite_xl_canny
- kohya_controllllite_xl_canny_anime
- sai_xl_canny_128lora
- sai_xl_canny_256lora
- t2i-adapter_diffusers_xl_canny
- t2i-adapter_xl_canny
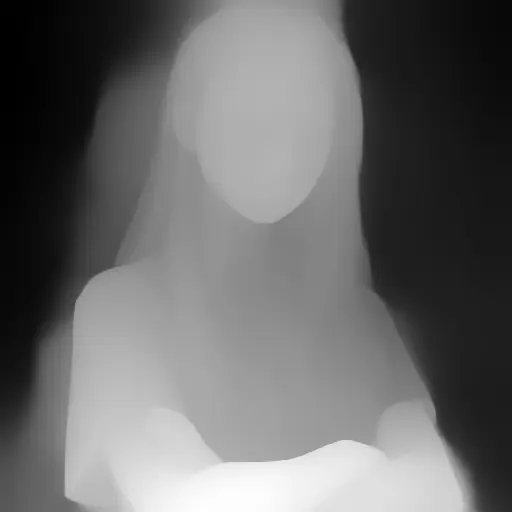
Depth
深度マップを使用して体の重なりや奥行きなどをうまく再現できます。
depth_hand_refinerは手を修正できます。Inpaintで使用してください。
- depth_anything
- depth_hand_refiner
- depth_leres
- depth_leres++
- depth_midas
- depth_zoe
- control_v11f1p_sd15_depth
- diffusers_xl_depth_full
- diffusers_xl_depth_mid
- diffusers_xl_depth_small
- kohya_controllllite_xl_depth
- kohya_controllllite_xl_depth_anime
- sai_xl_depth_128lora
- sai_xl_depth_256lora
- sargezt_xl_depth
- sargezt_xl_depth_faid_vidit
- sargezt_xl_depth_zeed
- t2i-adapter_diffusers_xl_depth_midas
- t2i-adapter_diffusers_xl_depth_zoe
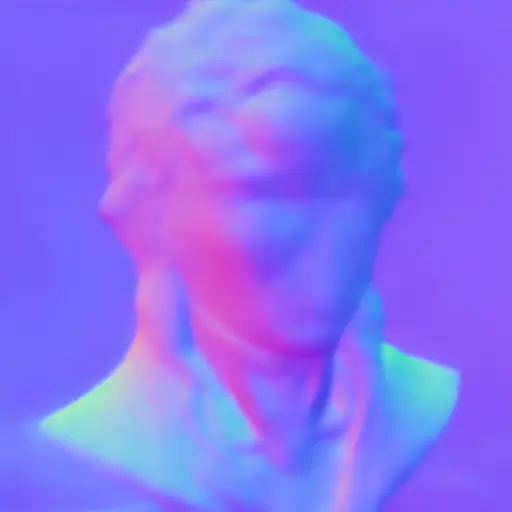
Normal
法線マップを使用して凹凸もしっかり検出することができます。法線マップは深度マップより細かいディテールが顕著です。
- normal_bae
- normal_midas
- control_v11p_sd15_normalbae
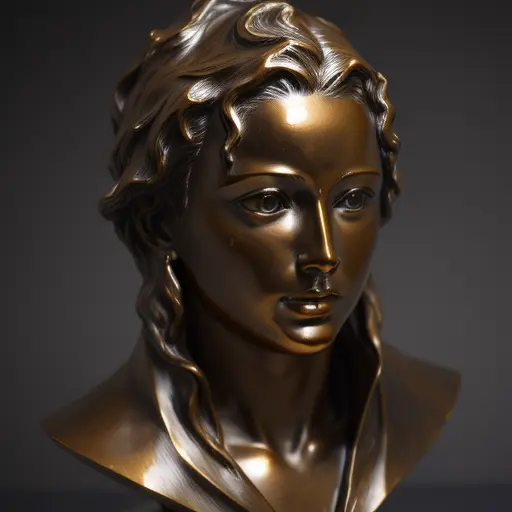
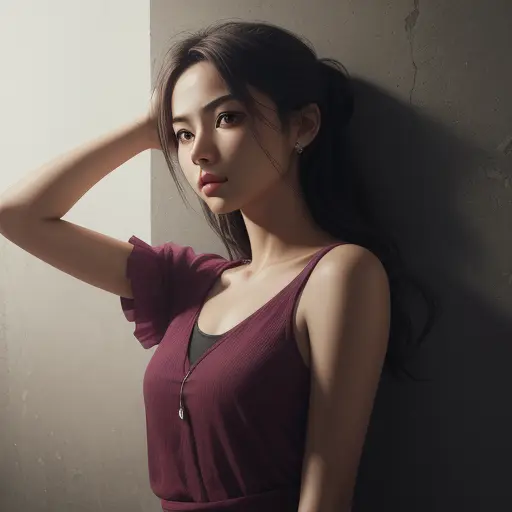
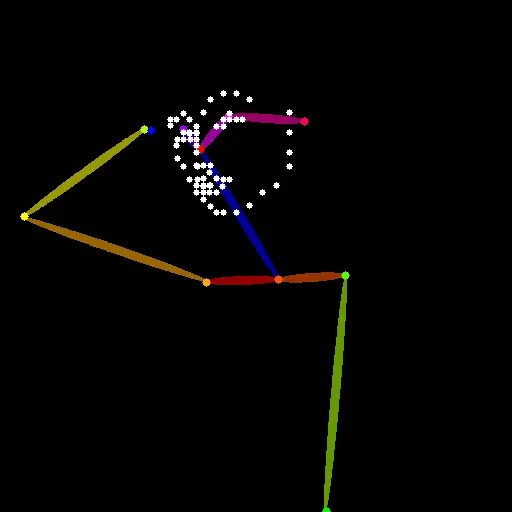
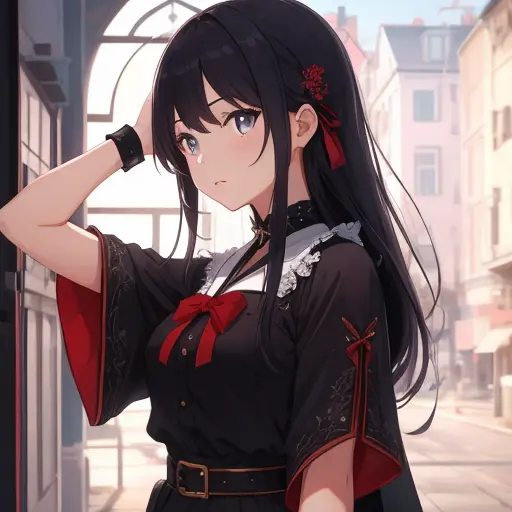
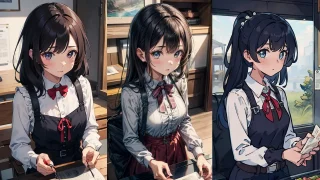
Openpose
被写体の姿勢(体・顔・手)を認識して似たようなポーズをとらせることができます。
- animal_openpose
- densepose (pruple bg & purple torso)
- densepose_parula (black bg & blue torso)
- dw_openpose_full
- openpose
- openpose_face
- openpose_faceonly
- openpose_full
- openpose_hand
- control_v11p_sd15_openpose
- kohya_controllllite_xl_openpose_anime
- kohya_controllllite_xl_openpose_anime_v2
- t2i-adapter_diffusers_xl_openpose
- t2i-adapter_xl_openpose
- thibaud_xl_openpose
- thibaud_xl_openpose_256lora
MLSD
画像から直線部分(線分)を抽出します。


- mlsd
- invert (from white bg & black line)
- control_v11p_sd15_mlsd
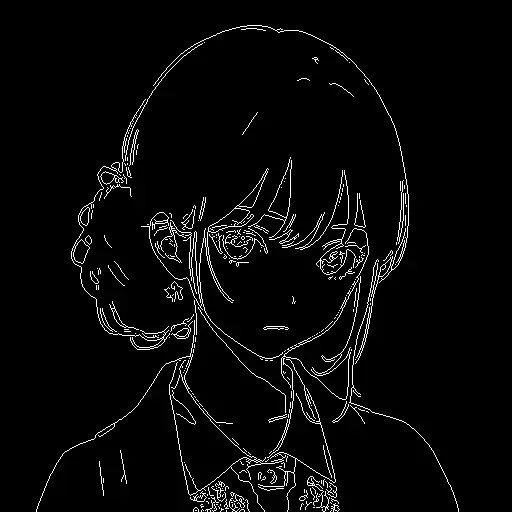
Lineart
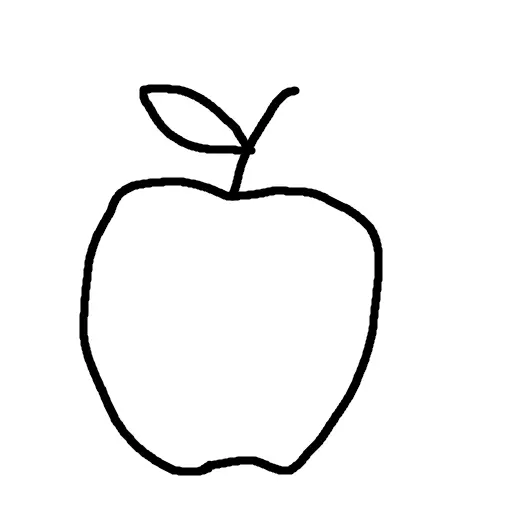
画像から線画を抽出します。加筆や修正などをしたい方にも便利です。
- lineart_anime
- lineart_anime_denoise
- lineart_coarse
- lineart_realistic
- lineart_standard (from white bg & black line)
- invert (from white bg & black line)
- control_v11p_sd15_lineart
- control_v11p_sd15s2_lineart_anime
- t2i-adapter_diffusers_xl_lineart
Soft Edge
エッジとオブジェクトのあいまいな境界も抽出できます。リペイントなどにも向いてます。
- softedge_hed
- softedge_hedsafe
- softedge_pidinet
- softedge_pidisafe
- softedge_teed
- control_v11p_sd15_softedge
- sargezt_xl_softedge
Scribble/Sketch
入力画像から落書き風に変換します。また、落書きを元に画像生成します。
下はinvertの使用例です。入力画像を白黒反転させてAIの認識違いが起きないようにします。

- scribble_hed
- scribble_pidinet
- scribble_xdog
- t2ia_sketch_pidi
- invert (from white bg & black line)
- control_v11p_sd15_scribble
- kohya_controllllite_xl_scribble_anime
- sai_xl_sketch_128lora
- sai_xl_sketch_256lora
- t2i-adapter_diffusers_xl_sketch
- t2i-adapter_xl_sketch
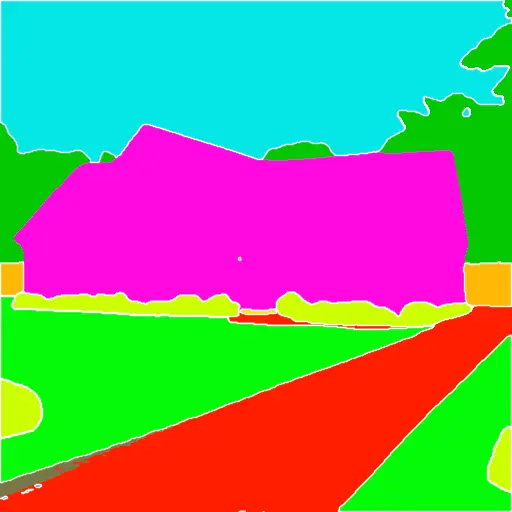
Segmentation
画像内の異なる領域やオブジェクトが個別に識別され、それぞれが異なるセグメントとして分類されます。
- seg_ofade20k
- seg_ofcoco
- seg_ufade20k
- control_v11p_sd15_seg
Shuffle
入力画像の要素を混ぜて再構成します。
- shuffle
- control_v11e_sd15_shuffle
Tile/Blur
Tile
全体の構造を維持しつつ、既存の画像のディテールを無視して新しいディテールに置き換えます。アップスケーリングと組み合わせて利用するとよさそうです。今のところSD1.5モデルのみです。

Blur
ぼやけた画像を詳細に生成します。PreprocessorはnoneでModelはblurを選択してください。今のところSDXLモデルのみです。
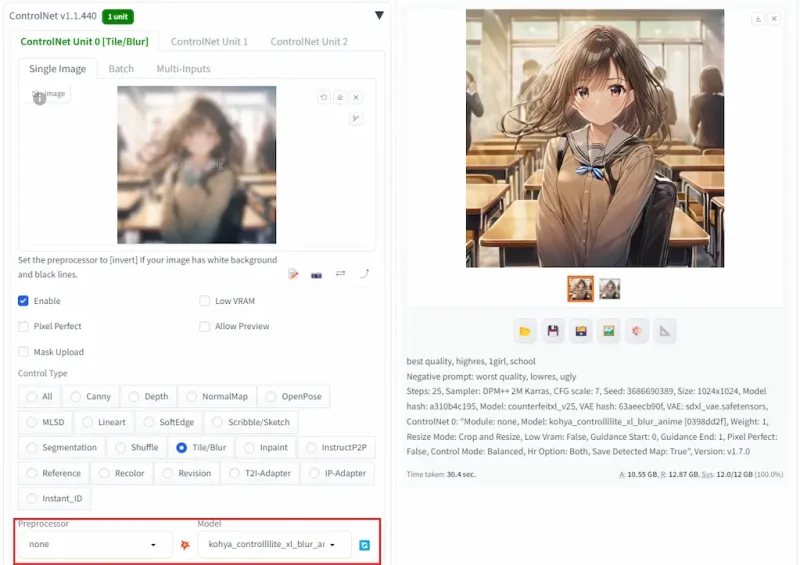
Preprocessorのblur_gaussianは、ぼかし画像への処理をします。
- blur_gaussian
- tile_colorfix
- tile_colorfix+sharp
- tile_resample
- control_v11f1e_sd15_tile
- kohya_controllllite_xl_blur
- kohya_controllllite_xl_blur_anime
Inpaint
Inpainting
修復したい個所を塗りつぶしてマスクを作成し、マスク部分のみ生成しなおします。img2imgのInpaintよりも破綻が少なく修復しやすいです。


Outpainting
サイズを拡張して画像の外側を描き足すこともできます。
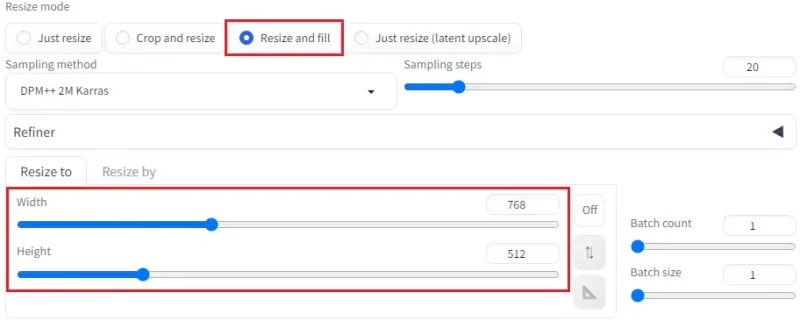
txt2imgまたはimg2imgでサイズの変更とResize modeをResize and fillに設定してください。
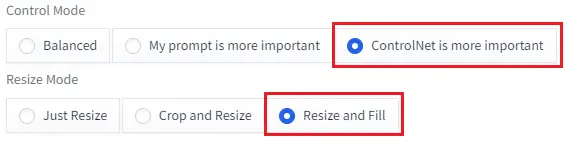
ControlNetの設定では、Resize modeをResize and fillに設定します。また、Control ModeをControlNet is more importantに設定しての生成も試してみてください。
- inpaint_global_harmonious
- inpaint_only
- inpaint_only+lama
- control_v11p_sd15_inpaint
Instruct Pix2Pix
画像の内容をプロンプトで変更する場合にimg2imgのみよりもいい結果が得られやすいです。構図も比較的維持してくれています。
- img2imgに画像をアップロード
- ControlNetの入力画像は不要
- プロンプトは「Xにする」のような命令の方が効果があるようです


- none
- control_v11e_sd15_ip2p
Reference
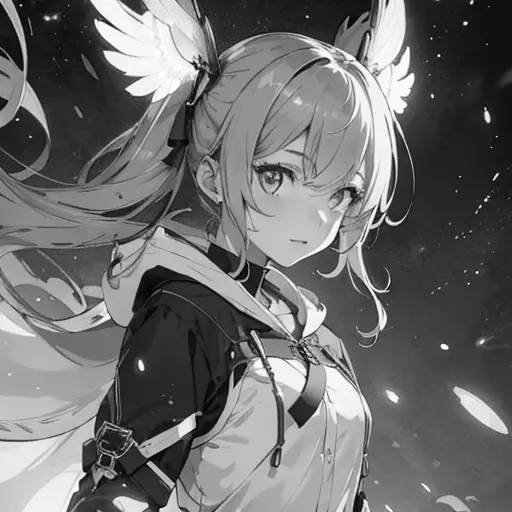
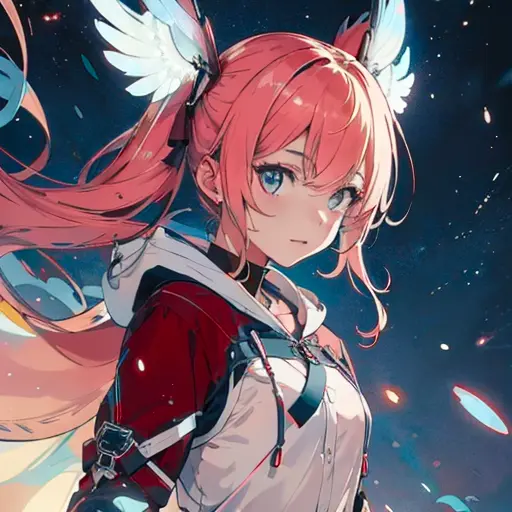
画像の要素を拾って似たようなイメージを生成します。髪や瞳などが同じような画像が生成されました。簡易的なキャラLoRAみたいな使い方ができそうです。
LoRAについては以下の記事をご覧ください。

- reference_adain
- reference_adain+attn
- reference_only
Recolor
構図はそのままで色だけ塗りなおします。
- recolor_intensity
- recolor_luminance
- ioclab_sd15_recolor
- sai_xl_recolor_128lora
- sai_xl_recolor_256lora
Revision
バリエーション画像を生成します。今のところはSDXLのみ対応しています。
- revision_clipvision
- revision_ignore_prompt
IP-Adapter
Clip
画像をプロンプト代わりのように使って生成します。似たような雰囲気の画像を生成したい時やプロンプトでの誘導が難しい場合に有効です。また、img2imgと組み合わせることで融合したような画像も生成できます。
FaceID
インプット画像から顔の特徴のみを抽出し、生成された画像に適用します。
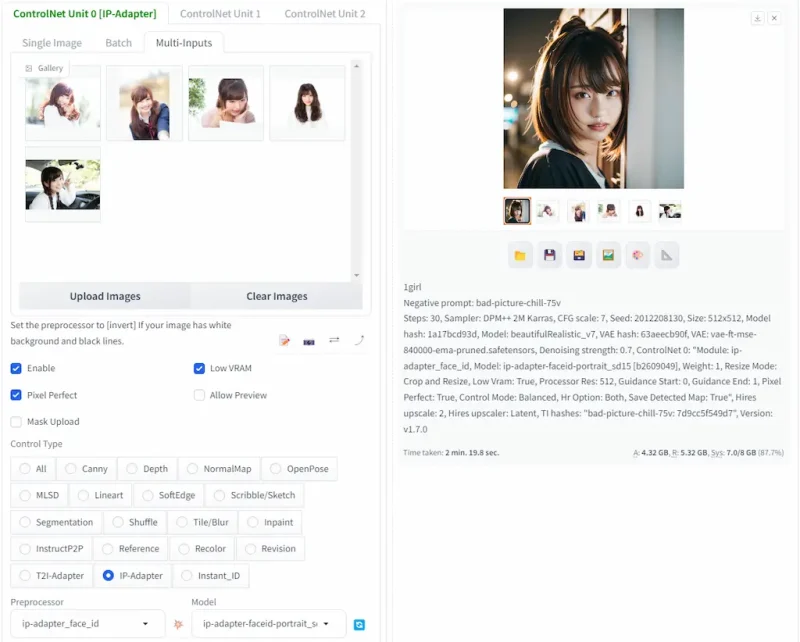
以下からモデルとローラをダウンロードしてテーブルの組み合わせで使用してください。
| SD v. | Preprocessor | Model | LoRA |
|---|---|---|---|
| v1.5 | ip-adapter_face_id | ip-adapter-faceid-portrait_sd15 | 不要 |
| v1.5 | ip-adapter_face_id | ip-adapter-faceid_sd15 | ip-adapter-faceid_sd15_lora |
| v1.5 | ip-adapter_face_id_plus | ip-adapter-faceid-plus_sd15 | ip-adapter-faceid-plus_sd15_lora |
| v1.5 | ip-adapter_face_id_plus | ip-adapter-faceid-plusv2_sd15 | ip-adapter-faceid-plusv2_sd15_lora |
| SDXL | ip-adapter_face_id | ip-adapter-faceid_sdxl | ip-adapter-faceid_sdxl_lora |
| SDXL | ip-adapter_face_id_plus | ip-adapter-faceid-plusv2_sdxl | ip-adapter-faceid-plusv2_sdxl_lora |
- ip-adapter_clip_sd15
- ip-adapter_clip_sdxl
- ip-adapter_face_id
- ip-adapter_face_id_plus
- ip-adapter_sd15
- ip-adapter_sd15_plus
- ip-adapter_xl.pth
- ip-adapter-faceid_sd15
- ip-adapter-faceid-plus_sd15
- ip-adapter-faceid-plusv2_sd15
- ip-adapter-faceid_sdxl
- ip-adapter-faceid-plusv2_sdxl
- ip-adapter-faceid-portrait_sd15
便利な拡張機能は、ほかにもたくさんあります。興味がある方はこちらをご覧ください。