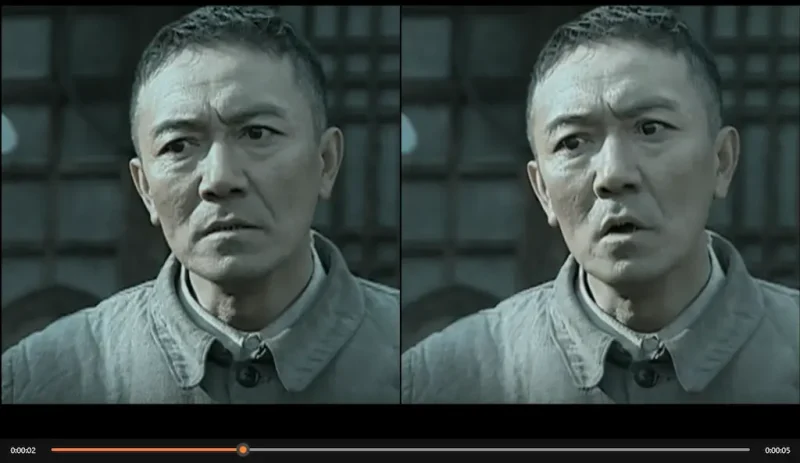
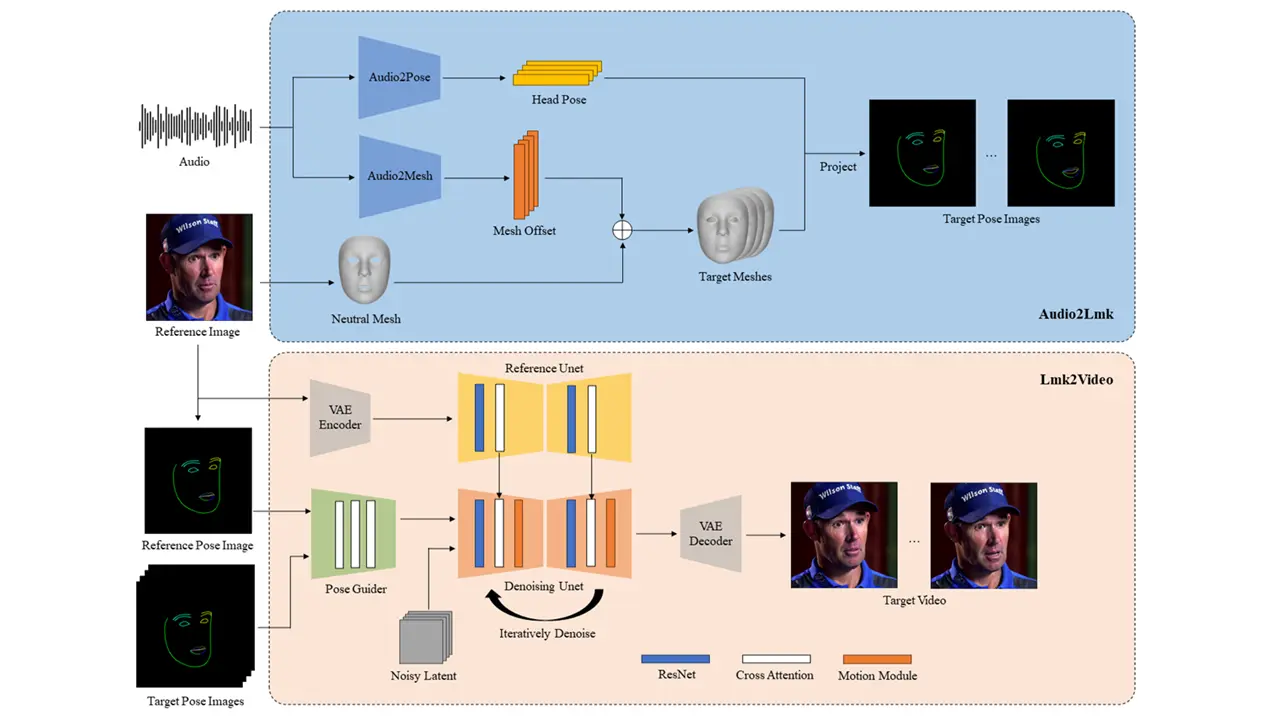
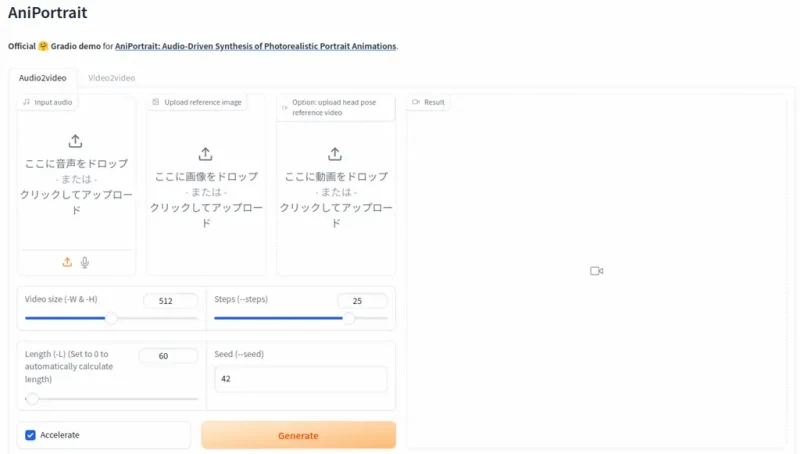
フォトリアリスティックなポートレートとオーディオに基づいて高品質な音声合成アニメーションを生成するAniPortraitについて紹介します。
実行環境
| OS | Ubuntu 22.04.5 LTS |
| AniPortrait | 7f6593fd971c95b65f603c15ef8ce2c3fc7f5404 |
| グラフィックボード | NVIDIA GeForce RTX 3060 12GB |
ソフトウェア要件
Ubuntuのインストール
今回はUbuntu 22.04環境になります。以下の記事を参考にminicondaのインストールまでしてください。
CUDA Toolkit 11.7
NVIDIAのGPUを活用した高速計算を行うための開発ツールです。path設定も忘れずに行ってください。
インストール
端末を開きます。
FFmpegインストール
sudo apt install ffmpegリポジトリをクローン
git clone https://github.com/Zejun-Yang/AniPortrait.gitディレクトリ移動
cd AniPortrait仮想環境を作成(Python 3.10 仮想環境の名前はaniportraitとした)
conda create -n aniportrait python=3.10仮想環境をアクティブ化
conda activate aniportrait依存関係をインストール
pip install -r requirements.txtpipのバージョンエラーが出た場合
pip install pip==23.3.1weightsのダウンロード
pretrained_modelフォルダに以下のようにファイルのダウンロードと配置をおこなってください。
./pretrained_model/
|-- image_encoder
|   |-- config.json
|   `-- pytorch_model.bin
|-- sd-vae-ft-mse
|   |-- config.json
|   |-- diffusion_pytorch_model.bin
|   `-- diffusion_pytorch_model.safetensors
|-- stable-diffusion-v1-5
|   |-- feature_extractor
|   |   `-- preprocessor_config.json
|   |-- model_index.json
|   |-- unet
|   |   |-- config.json
|   |   `-- diffusion_pytorch_model.bin
|   `-- v1-inference.yaml
|-- wav2vec2-base-960h
|   |-- config.json
|   |-- feature_extractor_config.json
|   |-- preprocessor_config.json
|   |-- pytorch_model.bin
|   |-- README.md
|   |-- special_tokens_map.json
|   |-- tokenizer_config.json
|   `-- vocab.json
|-- audio2mesh.pt
|-- audio2pose.pt
|-- denoising_unet.pth
|-- film_net_fp16.pt
|-- motion_module.pth
|-- pose_guider.pth
`-- reference_unet.pth
フォルダは作成し、青でハイライトしたファイル名が違ったので正しく変更してください。
推論
huggingface_hubのバージョンが新しくてエラーが出ました。とりあえずダウングレードすることで、コマンドラインでの推論が可能になりました。
pip install huggingface_hub==0.25.2Gradio Web UI
Web UIが用意されていましたがVRAM12GBでは推論時にOut of Memoryになりました。それ以上のVRAM搭載グラフックボードが必要になります。
コマンドライン
Gradio Web UIを使わずCLIで実行できます。また、オプションで希望のフレーム数を設定できます(例えば-L 100と追記)
Self driven
画像とポーズビデオを参照して生成します。
configs/prompts/animation.yamlを編集してファイルのパスを変更して使用してください。
pretrained_base_model_path: './pretrained_model/stable-diffusion-v1-5'
pretrained_vae_path: './pretrained_model/sd-vae-ft-mse'
image_encoder_path: './pretrained_model/image_encoder'

denoising_unet_path: "./pretrained_model/denoising_unet.pth"
reference_unet_path: "./pretrained_model/reference_unet.pth"
pose_guider_path: "./pretrained_model/pose_guider.pth"
motion_module_path: "./pretrained_model/motion_module.pth"

inference_config: "./configs/inference/inference_v2.yaml"
weight_dtype: 'fp16'

test_cases:
  "./configs/inference/ref_images/solo.png":
    - "./configs/inference/pose_videos/solo_pose.mp4"
python -m scripts.pose2vid --config ./configs/prompts/animation.yaml -W 512 -H 512 -acc -L 100以下のコマンドで動画をポーズビデオ(キーポイントシーケンス)に変換することができます。
python -m scripts.vid2pose --video_path pose_video_path.mp4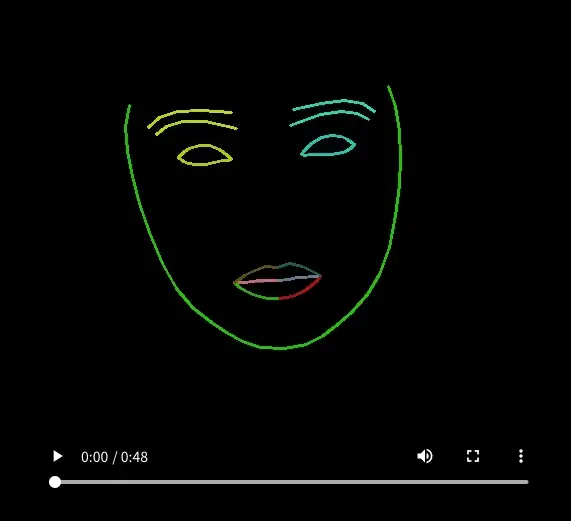
Face reenacment
画像と動画を参照して生成します。
configs/prompts/animation_facereenac.yamlを編集してファイルのパスを変更して使用してください。
pretrained_base_model_path: './pretrained_model/stable-diffusion-v1-5'
pretrained_vae_path: './pretrained_model/sd-vae-ft-mse'
image_encoder_path: './pretrained_model/image_encoder'

denoising_unet_path: "./pretrained_model/denoising_unet.pth"
reference_unet_path: "./pretrained_model/reference_unet.pth"
pose_guider_path: "./pretrained_model/pose_guider.pth"
motion_module_path: "./pretrained_model/motion_module.pth"

inference_config: "./configs/inference/inference_v2.yaml"
weight_dtype: 'fp16'

test_cases:
  "./configs/inference/ref_images/Aragaki.png":
    - "./configs/inference/video/Aragaki_song.mp4"
python -m scripts.vid2vid --config ./configs/prompts/animation_facereenac.yaml -W 512 -H 512 -acc -L 100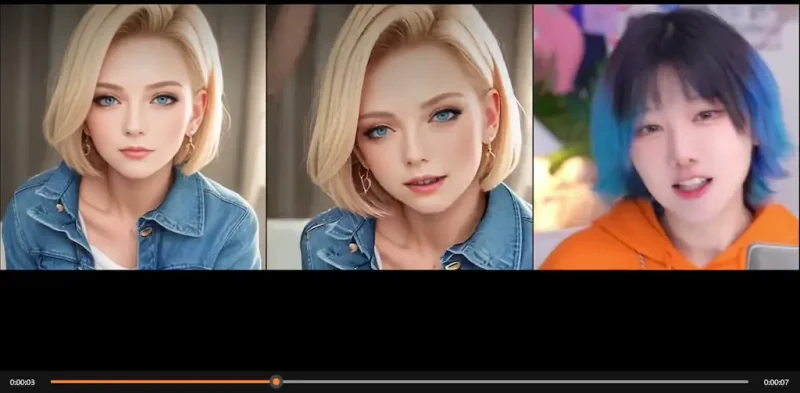
Audio driven
画像と音声を参照して生成します。
configs/prompts/animation_audio.yamlを編集してファイルのパスを変更して使用してください。
pose_tempがコメントアウトされてaudio2poseモデルが有効になっており、VRAM12GBでは推論時にout of memoryになりました。#を削除することで実行できました。
pretrained_base_model_path: './pretrained_model/stable-diffusion-v1-5'
pretrained_vae_path: './pretrained_model/sd-vae-ft-mse'
image_encoder_path: './pretrained_model/image_encoder'

denoising_unet_path: "./pretrained_model/denoising_unet.pth"
reference_unet_path: "./pretrained_model/reference_unet.pth"
pose_guider_path: "./pretrained_model/pose_guider.pth"
motion_module_path: "./pretrained_model/motion_module.pth"

audio_inference_config: "./configs/inference/inference_audio.yaml"
inference_config: "./configs/inference/inference_v2.yaml"
weight_dtype: 'fp16'

# path of your custom head pose template
# pose_temp: "./configs/inference/head_pose_temp/pose_temp.npy"

test_cases:
  "./configs/inference/ref_images/lyl.png":
    - "./configs/inference/audio/lyl.wav"
python -m scripts.audio2vid --config ./configs/prompts/animation_audio.yaml -W 512 -H 512 -acc -L 100